Tuesday, February 22, 2022
Time: 4h
- Documented pin information for TY-92 and TT-22 modules and control heads
- Drilled out temporary pop rivets in bottom skin to take a peek
- Drilled horizontal holes through rear seat attachment for 4 quick release seat positions
- Reinstalled rear/cargo floor, filing 4 holes that were not exactly in line, only by a smidgen
Pilot Seat Frame
I did not care for the bolt type locking mechanism that the LSA uses. It requires tools to change the position of the seat. It also required some very precise drilling and tapping. I decided to not use the nut welded to the top of the rear seat mounting tube but instead drill a horizontal hole through the entire bottom seat mounting tube. I then drilled four stop position holes in the fuselage rear seat mounting tubes. These holes are drilled to 1/4" which will fit a variety of stainless steel quick release clips, such as Ball Locking Pin.
Photo Stream
Wing is out of its crate and temp shipping pop rivets have been drilled out.

Peeking at the wing now that we have it out of its crate

More wing peeking
Need to inspect all bolts/nuts for proper size and torque.

Peeking under the skin
Not really doing work, just peeking under the skin to see what type of work is upcoming.

Pilot hole drilled in rear pilot seat mounting tube

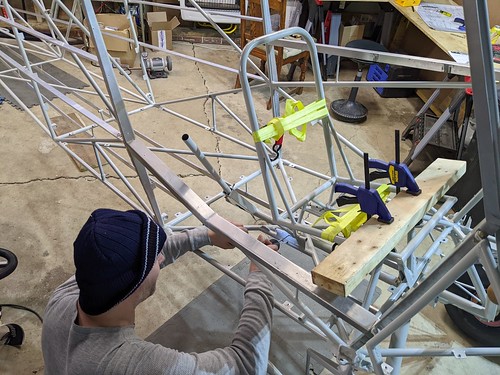
Doing my best to drill 90 degrees to everything
I have a guide to help me do this, but the place I am drilling had too many angles around it and welds coming close to where I was drilling, so I had to eyeball it.

Sam is removing all the screws from the floor board mounts
We put screws in every one making sure that we could screw them into the rivnuts by hand. We had 4 that were damaged during installation. They had to be replaced.
If we couldn't screw the screw in by hand and freely, then we decided the threads were damaged during installation and replaced them.

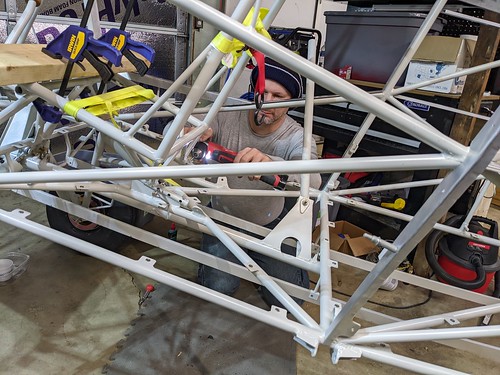
Drilling pilot holes for the four mounting positions
I drilled the rear hole first and made it as far back as possible. I then drilled the front most position. I then used a common fan tool to quick mark the two positions between the front and rear most positions.
Drilling some holes for the seat locking mechanism
Locking mechanism for pilot seat adjustment
These pins are just place holders that I happened to have for another item. I like the ability to adjust the seat without tools vs the AN4 bolt that the mechanism was built/designed for.
