Saturday, February 12, 2022
Time: 5h
- Installed Control Stick Assembly
- Fit floor boards
- Broke my 10-24 Rivet Nut head :-(
Working Notes
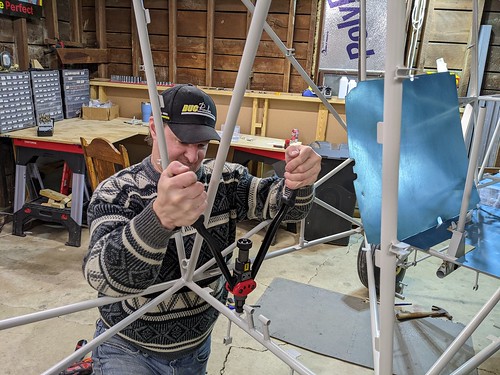
Working on the control stick assembly. When assembling, lay the interconnect tube inside the torque tube, install the front stick first and connect it to the interconnect tube. Then slide in the rear stick enough to connect the interconnect tube. Then install the main pivot bolt in the rear stick.
Also, I had to remove one shock to slide the control tube through. I could not find a way to twist it through otherwise, maybe it exists, but I couldn't find it.
It took much longer than anticipated to clean the holes out so the bolts slid into the tubes nicely. I think I need to invest in some reamers. The sandpaper trick is too time consuming and I always wind up ripping up the sand paper.
Bolts
- Interconnect Tube calls for an AN3-5A with a AN364 (Shear Elastic Locking Nut). The plans also mention shortnening. Need to purchase some AN364's
- Control sticks to Torque tube, AN4-21 is too small. AN-24 is too large. Need to measure and purchase the correct AN bolts.
- Torque Tube to Fuselage AN3-10A.
Photo Stream
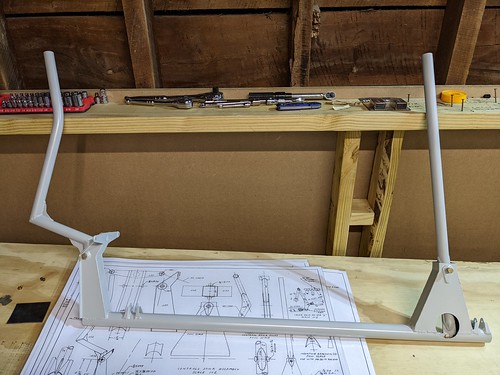
Collected the main parts for the primary control assembly

Test fit everything before putting mounting to the fuselage
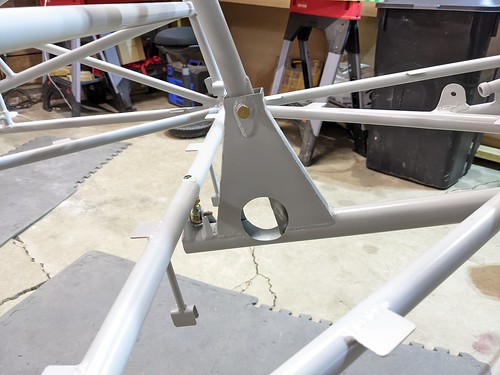
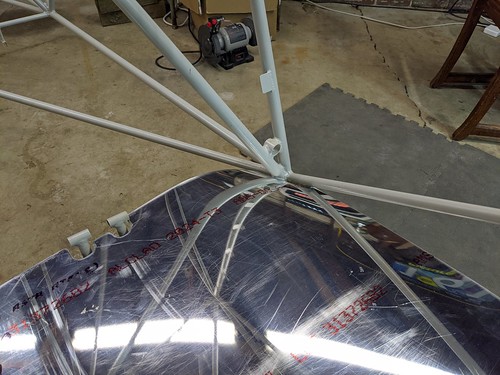
Screwing in one of the tie rod ends where the torque tube will hang from

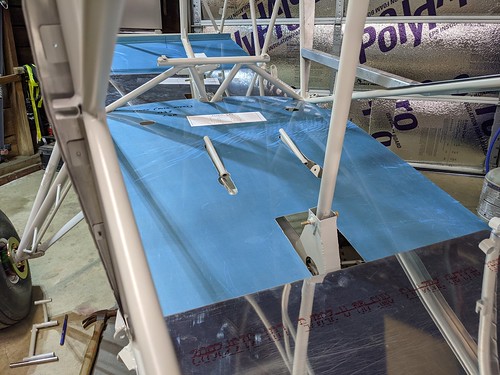
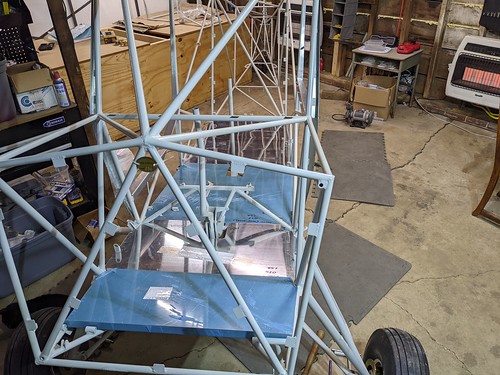
Torque Tube and Sticks are installed!
All of this is test fitting at this point. Nuts are coming :-)

Another view of the hung control assembly

Rear view of the control assembly, again nuts are coming :-)
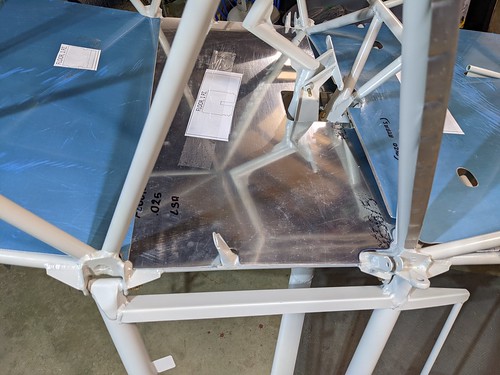
Test fitting the floor boards (front)
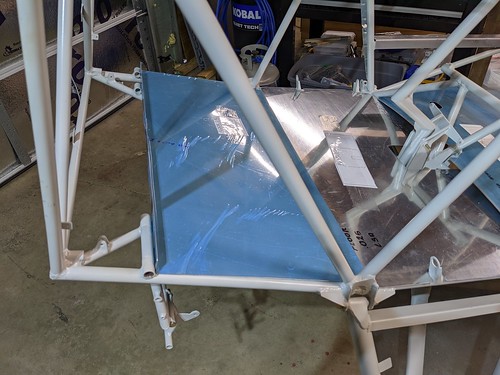
Test fitting the floor boards (2nd from front)
Here you can see the front floor board needs a little trimming (lip resting near the landing gear mount. Also, the 3rd from the front does not sit down all the way.
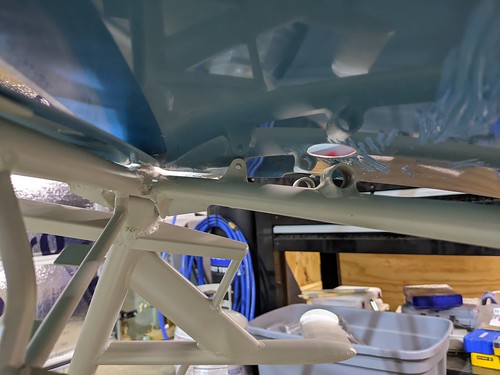
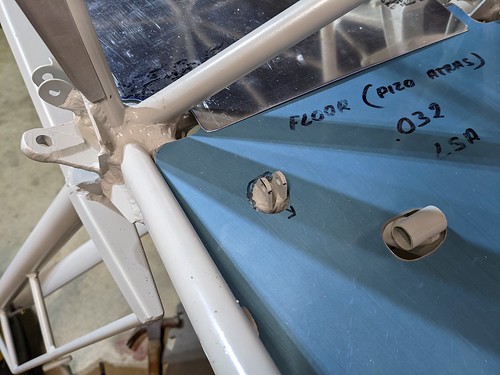
Hitting the rear passenger master cylinder mount
I ordered mine with brakes for the rear passenger. I am unsure if the mounts are there for all models and just the pedals and cylinders are part of the addition or not. Anyway, my floor board did not have cut outs for the rear passenger brake cylinder mounts. Had to mark, drill, then shape.
Another view of the 3rd floor board before fitting
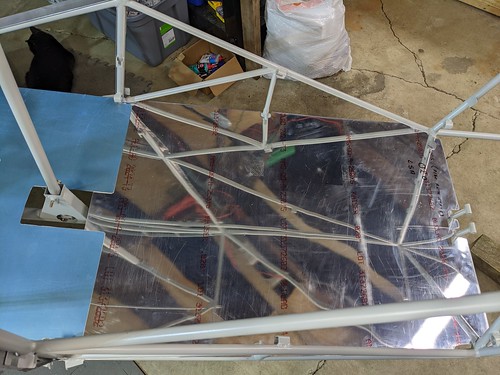
Baggage compartment floor board
As you can see, the rear of it needs some trim work to make it sit flat.

Main culprit for the baggage floor not fitting properly
Rough trimming
After I was close, I finished things up with a Scotch Bright wheel to make nice edges and transitions.

All floor boards are now fitting properly!
Close up of the passenger brake cylinder mounts now protruding the floor board
Proper fit of the baggage compartment floor
Clamping the floor board in place for drilling

Making the first hole for the floor board

Installing a rivet nut
I had the depth set wrong and stripped the head on my cheap rivet nut puller :-/ That put an end to the evening of installing the floor boards...