Sunday, February 13, 2022
Time: 3h
- Purchased a better, higher quality Rivnut tool from Summit Racing (they are local to me)
- Installed one rivnut manually and created a drilling template. We did this from underneath the fuselage and that was not a comfortable position to work. Thus the template allowed us to drill the remaining tabs from above.
- Drilled out all floor boards tabs using our template and a #30 drill bit.
- Reinstalled floor boards and clamped in place.
- Match drilled floor boards to floor tabs. We used a #30 drill bit so we could cleco the floor boards in place as we drilled to ensure no movement.
- Expanded holes in floor boards to accept an 8-32 screw.
- Expanded holes in the floor board mounting tabs to accept the 8-32 rivnut.
- Deburred all holes, mounting tabs and floor boards.
Photo Stream
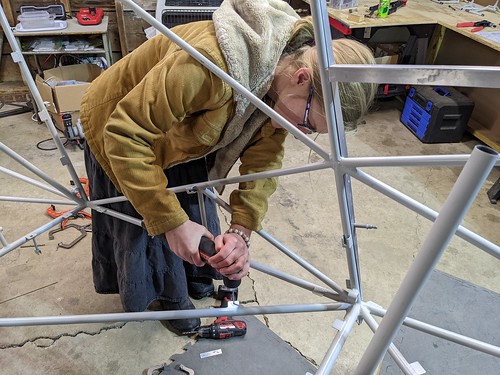
Anne followed up and completed the hole
Drilling through the steel tabs took long enough that we figured one person to mark the hold, start it so the drill didn't walk, then move on while another finishes the job. This worked well.
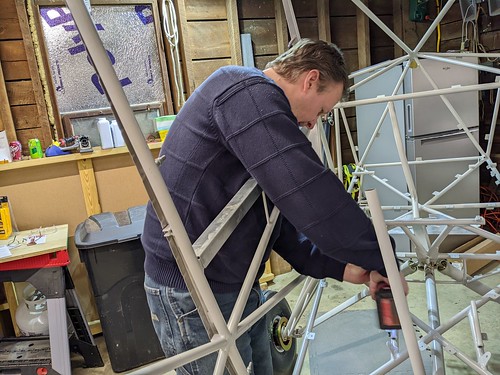
Using a template, I am starting a hole through each of the floor mounting tabs
We are using Rivnuts to mount our floor boards. We manually positioned one from underneath the fuselage to ensure proper clearance and edge distance. From that we then made a template to drill from above, which was a much more comfortable way of drilling.
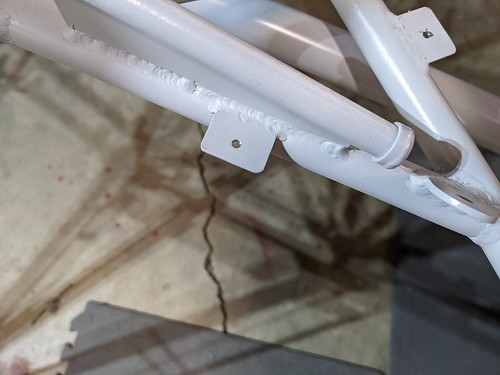
The end game (well, for the hole at least :-D)
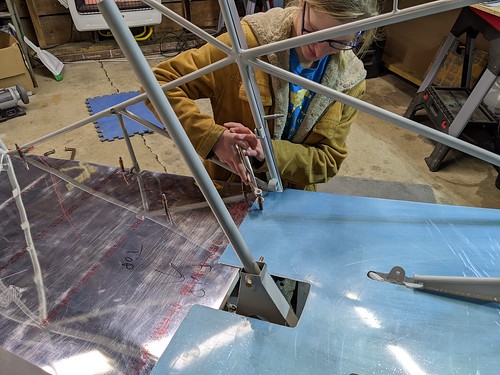
Once all the holes were drilled through the mounting tabs, floor was reinstalled, clamped and then we drilled from the bottom up.
The holes we made in the mounting tabs was a hole suitable for the 8-32 machine screw we are using for mounting. Once the floor boards are drilled, we will then debur the sheet metal and expand the holes in the mounting tabs to accept the rivnut.
Floor all drilled
Next up, deburring aluminum, expanding mounting tab holes, deburring those, and installing rivnuts.
Some deburring work going on
Expanding the mounting tab holes to accept the rivnuts


