Saturday, February 19, 2022
Time: 2h
- Cut front control stick to proper height
- Temporarily installed front control stick grip
- Cut and fit left and right upper stringers
- Cut and fit bottom stringers
This build day was cut short. Skunks built a home under my garage. After talking with some people I learned it was probably temporary. I went inside to look at some information on the computer and when I came out the garage was unbearable with the smell of skunk.
So, gotta get the skunk situation taken care of before I continue building.
Photo Stream
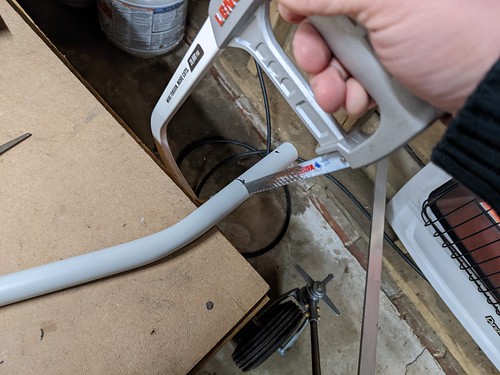
Trimming the pilot control stick
It comes too long, once you know what grip you are going to use, then measure and cut.
Control stick reinstalled with the grip just slid into position
So I can play of course :-)

Left upper side stringer fit

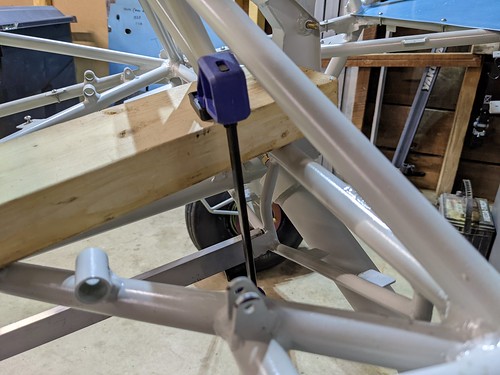
Right Lower Stringer clamped into place for marking
The stringers do bend slightly as they go to the tail. There was a decent amount of pressure on this front mount.
Scrap stringer material that I practiced bending on
The two bottom stringers at the rear do not terminate into the fuselage. Thus, they need some type of relief for the fabric so it is not up against the trailing edge of the stringer.
After playing with cutting the end at an angle, crushing the end a tad and then bending, and then just bending, I liked the look and consistency of the later. No prep, I just carefully took a conduit pipe bender to the rear.

Bottom view of the bottom rear stringer bend
I think it came out pretty good!
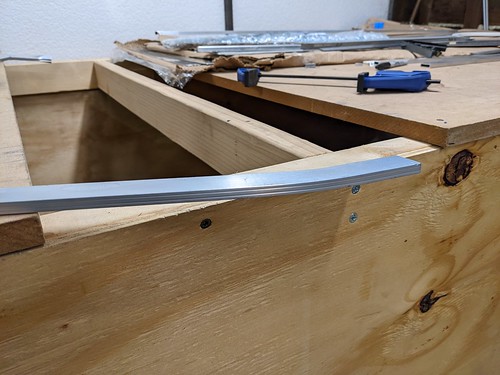
The two rear bottom stringers bent

All the stringers are in place
None are drilled or fixed in place yet.
